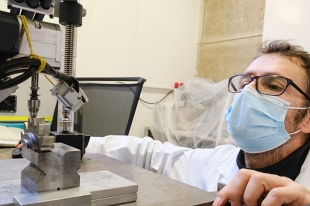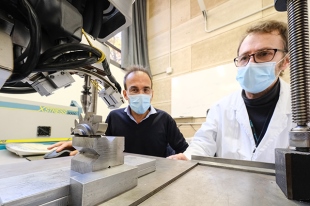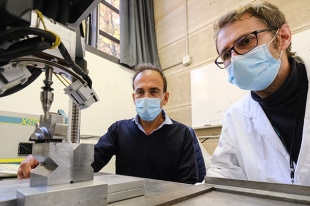
Residual stresses are one of the main factors affecting the mechanical properties of materials, and the behavior of mechanical elements and structural parts. Fatigue, stress-corrosion, contact fatigue are strongly affected by the residual stress state due to manufacturing processes, heat and surface treatments, possible overloads. The quantitative measurement of the residual stress state is therefore an important tool to assess the quality of materials and to evaluate their mechanical strength of components.
The XRD StressTech X3000 allows the non-destructive determination of residual stresses by means of the measurement of the shift of the diffraction peak caused by the change of the distance of the crystalline planes, with defined Miller indexes, due to residual strain and relating that to the residual stress strain. The measurement is based on the d-sin2χ method and can be done both in Ψ and Ω.
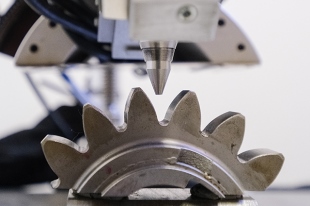
It can be used both for measurement on small lab samples and for the analysis of large parts, such as shafts, crankshafts, Pelton wheels, gears, springs, ...
The X3000 design allows to easily transport it for in-situ measurement, for application on industrial plants, such as pipelines, or large structures, such as bridges, for the measurement of the effective stress state. The measurement area can vary from 1mm2 to 10mm2 and by means of electropolishing it is possible to perform in-depth measurement to determine the in-depth residual stress profile.
The instrument allows to determine the retained austenite and, thanks to the full width of the XRD peak at half maximum, of the material local hardening.
X3000 is equipped with three different X-Ray tubes with different anode (Cr, Cu, Ti), to cover the range of almost all the materials of technical interest.
The software XTronic takes care of the measurements, from running the measurement to calculating the residual stress or retained austenite values. XTronic software fulfills the new European X-ray residual stress testing standard EN 15305.
Informazioni tecniche
Main unit
- High voltage power supply (generator) for X-ray tube continuously variable within 5 to 5 a 30 kV/0, to 10 mA.
- Electrical: 90 to 260 VAC, 48 to 62 Hz, 600 VA
- Cooling: Self-contained recirculating water cooling with heat exchanger for X-ray tube and power supply. No external water supply needed.
Goniometer
- Xstress 3000 goniometer type G2 mounted on a tripod with magnetic anchoring as a standard.
- χ inclination: programmable –45° to +45° (standard).
- χ oscillation: programmable 0° to ±6°.
- Detectors: Dual position sensitive MOS Linear Image Sensors in symmetrical modified χ (side inclination) geometry. Angular resolution: 0.029°/pixel, 512 pixels/0.5 in. 2θ-angle is instantly adjustable by sliding the detectors manually to the desired angular position along arc-shaped detector holder. 2θ-range of the detectors is continuously adjustable within +100° to 165°
- X-ray Tube: Miniature, 30 kV, 10 mA, 300 W. Anode: Cr, Cu, Ti
Software XTronic
Full featured Microsoft Windows software using thread based multitasking.
- χ exposure mode; peak shift calculation by cross-correlation and three other methods.
- Library functions for material and measurement parameters
- Automated calibration for goniometer to sample distance.
- Controlling detectors, DC motors, power supply, shutter, safety interlock functions, etc.
- Ω mode
- Software for Triaxial Stress Analysis.


